
10 Kitchen Lighting Ideas That Work (and What to Plan Before the Cabinets Go In)
The best kitchens use three layers of light: bright, shadow-free task light on the benchtops, soft ambient light for the room, and accent light in the joinery and under the island. The ideas that look best, like recessed under-cabinet strip and glowing toe-kicks, have to be designed into the cabinetry, so plan them with your cabinetmaker before the joinery drawings are signed off.
Start with the three kitchen layers
Task light is the priority. You need bright, even light exactly where you chop, read recipes and plate up, without your own body casting a shadow over the bench. Ambient light fills the room so it feels open and safe to move around. Accent light is what makes a kitchen look finished at night: glowing shelves, a lit splashback, a soft line under the island.
A kitchen lit only by downlights usually fails the first test. Downlights sit behind you as you face the bench, so you work in your own shadow. That's why the ideas below lean on light placed close to the work surface.
10 kitchen lighting ideas
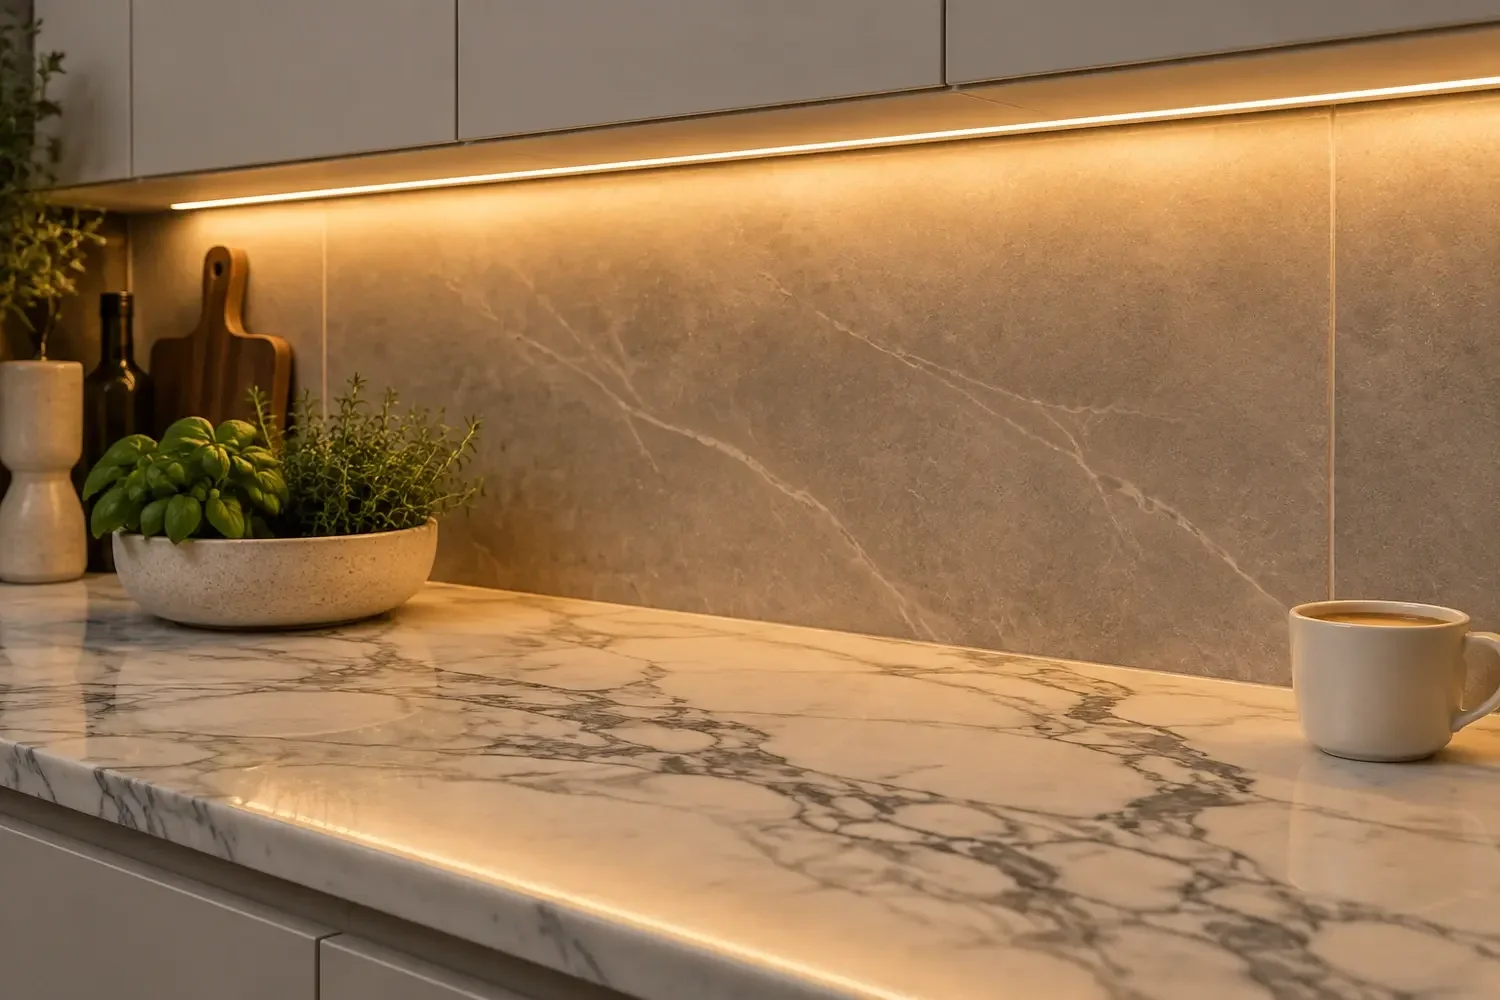
1. Recessed LED strip under the overhead cabinets
This is the single biggest upgrade in most kitchens. A strip of high-density LED set into an aluminium profile under the overhead cabinets throws even light straight onto the benchtop. With an opal diffuser, you see a smooth line of light rather than a row of dots reflected in polished stone.
Plan it when: the joinery is being drawn, so the cabinetmaker can route a channel and leave a cable path.
2. Pendants over the island
Pendants do two jobs: task light on the island and a decorative focal point for the whole open-plan space. Hang them low enough to light the bench but high enough to keep sightlines clear. Put them on a dimmer so they can drop to a glow once dinner is served.
Plan it when: before the ceiling is sheeted, so power points land in the right place and heavy fittings get blocking.
3. Toe-kick strip under the base cabinets and island
A soft line of light at floor level makes the island look like it's floating, and doubles as a night light for late-night glasses of water. Keep it dim and warm.
Plan it when: joinery drawings, because the strip sits in the kickboard recess and needs a cable route.
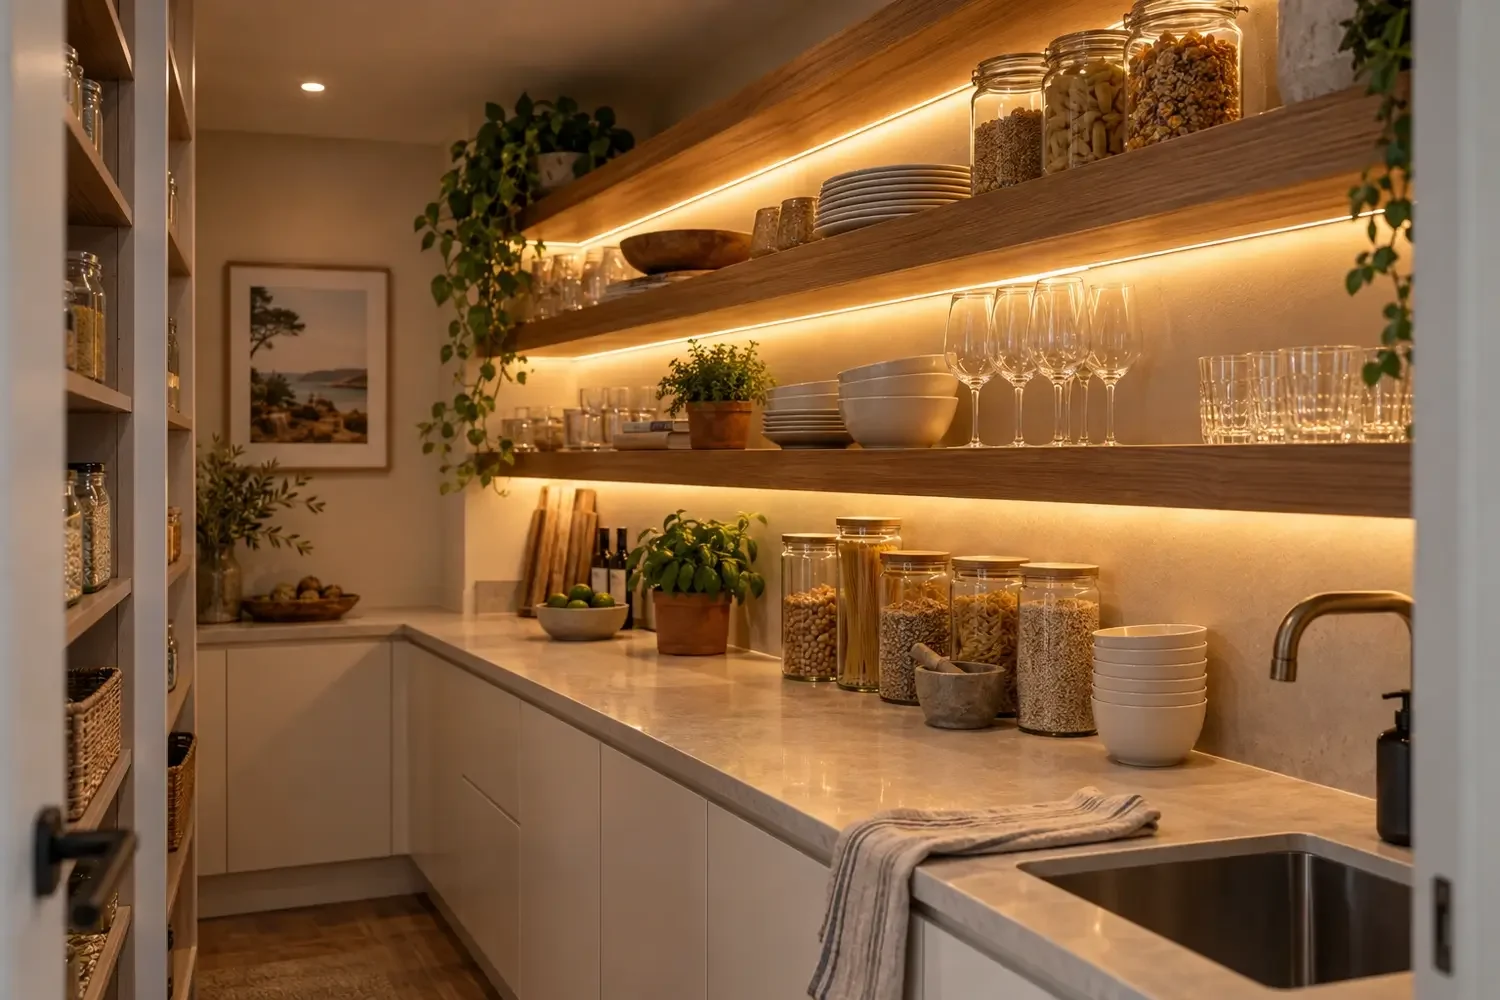
4. Lit open shelving and glass display cabinets
Strip recessed under each shelf, or run vertically inside glass-fronted cabinets, turns everyday ceramics and glassware into a feature.
Plan it when: joinery drawings.
5. Butler's pantry and scullery lighting on a sensor
The butler's pantry is where hands are full. Strip under shelves on a motion or door sensor means light comes on as you walk in and turns itself off.
Plan it when: rough-in, for the sensor and switching.
6. Cove or bulkhead light above the cabinets
If the overhead cabinets stop short of the ceiling, or there's a bulkhead above them, a concealed strip washing up onto the ceiling adds soft ambient light and makes the ceiling feel higher.
Plan it when: frame stage, if a bulkhead needs to be built.
7. Splashback wash lighting
A stone, tiled or mirrored splashback looks spectacular when light grazes down it from above. Texture shows up; flaws don't. This works best with the strip set close to the wall.
Plan it when: joinery drawings, alongside the under-cabinet strip.
8. Inside-drawer and pantry lighting
Door and drawer switches that turn on a small strip as you open a deep pantry or a drawer of spices are a small luxury that gets used every day.
Plan it when: joinery drawings, with the cabinetmaker's hardware.
9. Dimmable ambient downlights, kept out of the cook's shadow
If you use downlights, place them over the front edge of the benches rather than in the middle of the room, and keep them dimmable. Fewer, well-placed downlights beat a grid.
Plan it when: the lighting plan, before rough-in.
10. Scenes: cooking, dining, late night
Group the kitchen's circuits into simple scenes. "Cooking" puts task light at full. "Dining" drops the pendants and under-cabinet strip to a glow. "Late night" leaves only the toe-kick on. This works with dimmers on separate circuits or with a smart lighting system.
Planning a build or renovation?
Luxe designs and installs architectural lighting across the Sunshine Coast and Brisbane. Book a lighting consultation.
Getting under-cabinet lighting right
Under-cabinet strip is the idea most often done badly, so it's worth getting the details right.
- Profile depth and diffuser. Recess the profile so the strip is hidden from a seated or standing eye line, and use an opal diffuser to avoid dotting on glossy benchtops.
- 24V strip. It handles longer runs with less voltage drop, so brightness stays even from one end of the kitchen to the other.
- High colour rendering. Choose CRI 90 or more so food, timber and stone look true.
- Driver location. Drivers need to be accessible and ventilated. A cupboard above the rangehood or a void above the overhead cabinets works well. Never seal a driver in.
- Switching. Put under-cabinet strip on its own switch or dimmer, separate from the downlights, so you can use it alone.
Colour temperature for kitchens
Around 3000K suits most homes: warm enough for an open-plan living area and crisp enough to cook by. The key is consistency. If the kitchen opens to the living room, use the same colour temperature for the strip, the pendants and the downlights across the whole space.
What to tell your cabinetmaker
Before the joinery drawings are signed off, make sure they show:
- Routed channels for every strip, with profile depth and width
- Cable holes and paths from each strip back to its driver
- A ventilated, accessible cupboard or void for drivers
- Sensor and switch positions for pantries and drawers
- Profile finish to match the joinery (black, white or aluminium)
- Who's supplying the profiles: the cabinetmaker or the electrician
A short meeting between your cabinetmaker and electrician at drawing stage saves days of rework later. We do this routinely on kitchen LED strip lighting and under-cabinet LED lighting jobs, and for renovations through our builder and renovation lighting service.
If you're building from scratch, our guide on how to plan lighting for a new home covers the rest of the house.
Frequently asked questions
What is the best lighting for a kitchen?
A mix: recessed LED strip under the overhead cabinets for task light, dimmable downlights or cove lighting for ambient light, and pendants over the island. Use warm white around 3000K with a high colour rendering index (CRI 90 or more) so food and finishes look natural.
Is LED strip lighting good for under kitchen cabinets?
Yes, it's the best option when it's installed in an aluminium profile with a diffuser. That gives an even line of light with no visible dots reflecting on stone benchtops, and keeps the strip cool and protected.
When should I plan kitchen lighting in a renovation?
Before the joinery drawings are signed off. Recessed strip, toe-kick lighting and lit shelves need channels and cable paths built into the cabinetry, which is hard or impossible to add afterwards.
What colour temperature is best for a kitchen?
Around 3000K suits most homes: warm enough for an open-plan living area but crisp enough to cook by. Keep all kitchen and living lights at the same colour temperature so the space looks consistent.
Does kitchen LED strip lighting need an electrician?
If it's wired to 240V through a driver, switch or new circuit, yes: in Queensland that is electrical work for a licensed electrician. Plug-in low-voltage kits are the only DIY option, and they rarely give a built-in finish.
Get your free lighting quote.
Call 0411 212 528 or request your consultation. Licensed electrical contractor #90549.
